As promised, I am writing about lightening up some of my favorite sweet treats. By the way, I’m going to stop promising in all of my blogs. I realized that I promise too often. Not that it’s a bad thing, but what if something comes up and I don’t have time to blog? Like yesterday, time got away and I did not make it to typing up this blog…as promised. Now that I’ve gotten that out of the way…
I think I have almost successfully been able to lighten up my chocolate cake without it tasting terribly different from the original, and I didn’t use applesauce to do it! J
Here’s the original recipe with alterations in parentheses:
- 1 c. vegetable oil
- 1 ½ c. sugar (organic cane sugar)
- 2 eggs (free-range)
- 1 c. buttermilk (fat-free)
- 2 tsp. vanilla extract
- 3 c. all-purpose flour (2 c. whole wheat flour and ¾ c. AP)
- ½ tsp. salt (kosher)
- 1 tsp. baking powder
- 2 tsp. baking soda
- ½ c cocoa powder (ALWAYS use dark)
- 1 c. strong, hot coffee (this is the trick for either version you choose to make)
Directions:
-Preheat oven to 325’F
-In a medium bowl, whisk together the oil, sugar, eggs, buttermilk and vanilla.
-In a large bowl, whisk together the flour, salt, baking powder, baking soda, and cocoa powder.
-To the dry ingredients, add ½ the wet ingredients and the coffee. Whisk together, and fold in
remaining wet ingredients.
-If baking a cake, pour into pans that have been sprayed and lined with parchment paper. Bake
for approximately 30 minutes, and then check every 5 minutes after that. Cake is done with
toothpick comes out with a few crumbs still on it.
-If baking cupcakes, scoop about 3 oz. of batter into lined cupcake pans. Bake for approximately
10 minutes, turn, and bake for another 5 minutes. May need a little more time, but make sure
to check often. It’s easy to over-bake these delicious treats.
The revised edition of this recipe tastes almost exactly like the original! If you’ve never had my chocolate cake, you may never know the difference. Now, for the icing…
It took me a little while to decide what to try for a “light” chocolate icing. It wasn’t until I reached for sour cream (thinking I might not be able to find fat-free buttermilk for the cake) that the light bulb flickered on. I decided to try a couple of things, and ended up enjoying the combination of the 2 layered on top of the cupcake.
Cream Cheese Frosting:
- 4 oz. reduced fat cream cheese
- 3 TBSP reduced fat sour cream
- 2 oz. butter
- ¼ c. confectioner’s sugar
- ½ c. dark chocolate chips, melted
With an electric mixer, whisk together cream cheese, sour cream, butter, and sugar. Drizzle in chocolate. Once it is mixed in, stop mixer and scrape bowl. Once well mixed, set aside to make the “ganache”.
I may or may not have a sick obsession with chocolate truffles, chocolate ganache, brownies, chocolate cake, need I name more? Basically, if there is chocolate, I’m going to love it. Well, if it’s milk or white I may not love it as much. They have their place, but I’m not sure I’d call those the real deal.
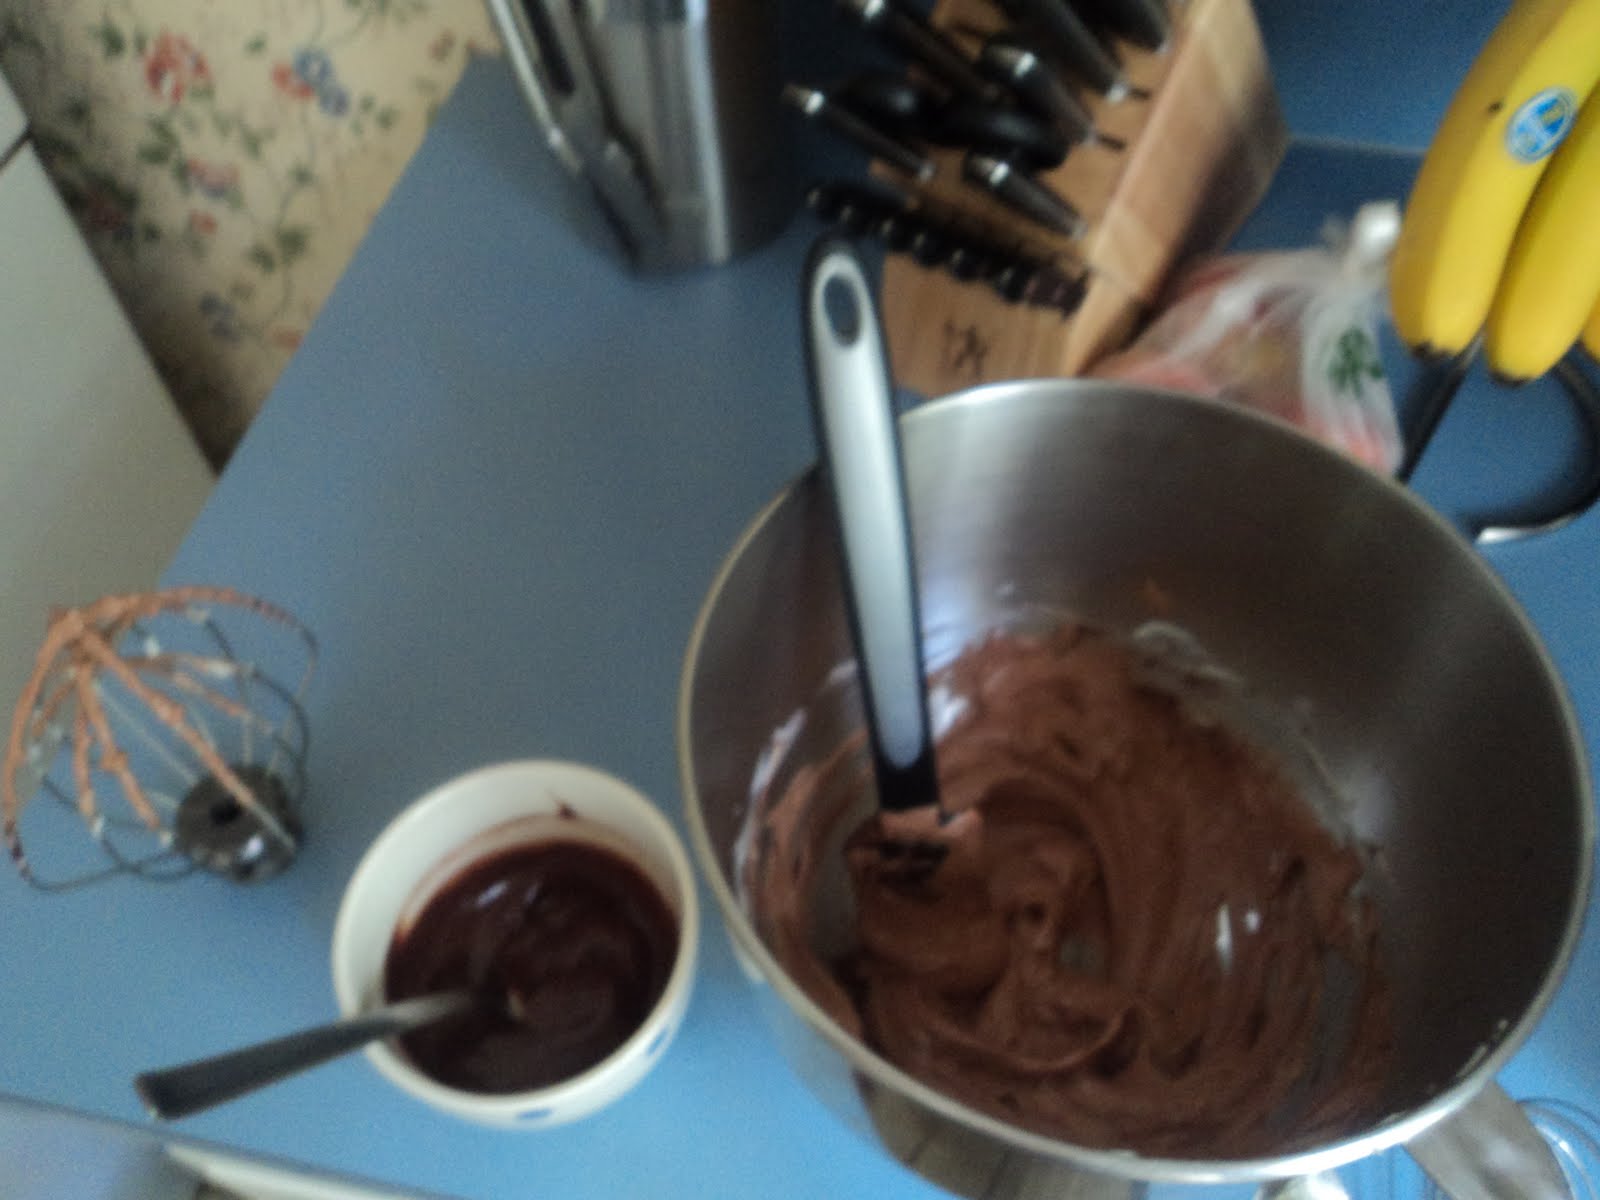
I wanted to try something out with making a lighter version of ganache. I didn’t want to use milk, because I didn’t know how it would react with the chocolate. Instead, I thought I’d try using some reduced fat sour cream. I melted about ¾ c. of dark chocolate chips. With a fork, I whisked in about 3 tbsp. of reduced fat sour cream (it was close to room temperature). In the past, if I’ve added just a touch too much chocolate to cream cheese frosting, it becomes a grainy stiff mess.
I was worried about the sour cream doing the same, but to my surprise, it was creamy, fruity deliciousness! SUCCESS!!! It tasted like dark chocolate raspberry ganache.
I topped some of the cupcakes with just icing, some with just ganache, and some with ganache and then icing. The latter were my favorite. While this recipe still needs to be consumed in moderation, it is lighter than the original. Another bonus: whole grains! Clearly, I am someone who likes my fiber. This is just an extra way to make sure I get my daily grams.

 |
| King Arthur Whole Wheat flour is my favorite. |
 |
| Pay no attention to the warped cupcake liners. |

 |
| Finished...almost! |
 |
| "Ganache" |


Once I finished the cupcakes, I was still feeling inspired. I decided to try my hand at an old favorite-oatmeal chocolate chip. I know there is not much that can replace the ooey gooey delicious original, but I thought I should try.
I have to admit, although I am a healthy eater, I am also a lover of butter. That is not to say that I like to slather on everything I eat, but I feel that part of the obesity epidemic (among a textbook of other health problems) in the U.S. is related in part to our reliance on processed food. Sure, there are dozens of products claiming that they are full of “good” fats, but plant oils are liquid for a reason. Butter is solid for a reason, too.
That is why I’ve banned all products that are solid, butter-looking, non-butter substances from my kitchen.
That being said, I left the butter in the recipe. The main thing I changed was the use of whole wheat flour, addition of some extra oats, using good dark chocolate, free range eggs, and organic sugar. Here’s the recipe:
- 1 ¼ sticks unsalted butter
- 8 oz. light brown sugar (I forgot to get this, so I used the organic cane, but look for organic brown sugar)
- 2 eggs (free range)
- 2 tsp. vanilla extract
- 3/4 tsp. kosher salt
- 1 c. whole wheat flour (may have to add just a little more)
- 3/4 c. AP flour
- 1 c. oats
- 1 tsp. cinnamon
- 1 ½ c. dark chocolate chips (60% cocoa minimum)
Directions:
-Preheat oven to 375’F
-Cream together the butter, sugar, and vanilla extract
-Add eggs, one at a time. Scrape bowl after each addition
-Add the salt, whole wheat flour, AP flour, oats, and cinnamon
-Add chocolate chips
-Scoop onto cookie sheet lined with parchment paper. Keep about 2 inches apart.
Bake for approximately 8 minutes, turning halfway through. This recipe made more cookie dough than I wanted to bake. Neither of us needed to eat that many cookies! A great way to store extra cookie dough is to scoop onto a cookie sheet, freeze, then transfer to a Ziploc freezer bag. They’ll keep for about 1 month if stored this way. Whenever you want a sweet treat, you can grab a few dough balls from the freezer. Allow to defrost, bake, and you have satisfied your sweet tooth in less than 30 minutes.


The cookies, though not lower in fat, did contain more whole grains. They were phenomenal! I forgot to turn the oven up when I pulled the cakes out of the oven, so they spread a little more than I like. I will remember that next time!
Even though I thought my experiment went well, I needed the other chocoholic in the family to give his “expert” opinion. Let’s just say, there were cake crumbs all over the counter, and the cookies didn’t last very long. I think he was pleased.
This day in the “lab” taught me a few things. 1) You can have your cake and eat it too. In this case, I’m talking about whole grains and dessert! 2) Don’t forget, just because there is whole wheat flour doesn’t mean you can give up on moderation!
I’m hoping to have a few more experiments under my belt by next week. Tonight is taco night. In my kitchen, that means lean ground turkey and lots of veggies. Can’t wait!!!
No comments:
Post a Comment